The Notification can be displayed across entire site or selectively on specific posts and pages, delivering important message to your audience and generate leads. Also, you have the option to customize the appearance of the Notification using a wide range of customization settings.
How to add a Notification? #
You can add a Notification via Admin Dashboard > Pop and Convert > Add New. Here you can add Notification Title.
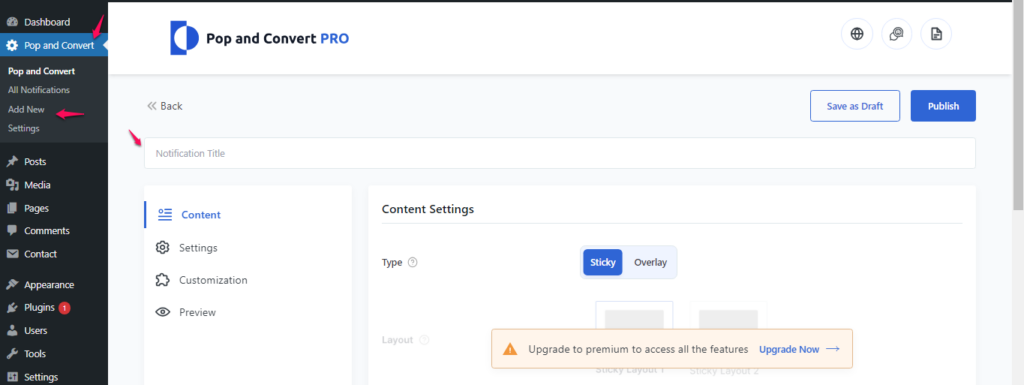
Content Settings #
You can configure content of the Notification Settings from here.
Type: You can choose whether you want the notification to be sticky or overlay on your site.
Title: Please provide a title for the notification.
Description: Enter the desired content for the notification.
Image: Kindly upload the image you intend to use for the notification.
Button Settings #
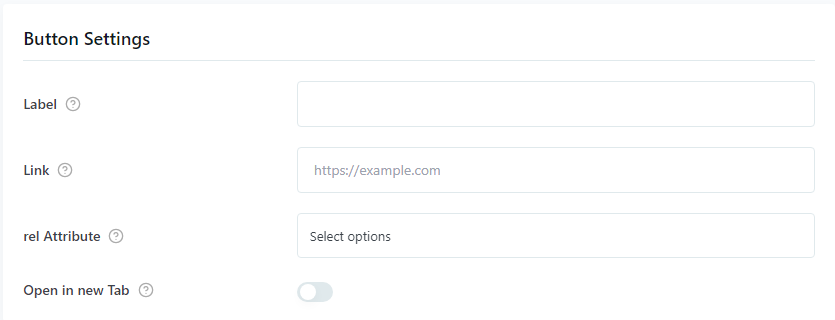
Label: Add a label for the CTA button within the notification.
Button Link: Specify the destination URL for the CTA button.
Rel Attribute: Select the relationship attribute (rel) for the link.
Open in New Tab: Toggle this option to enable opening the link in a new tab.
Settings #
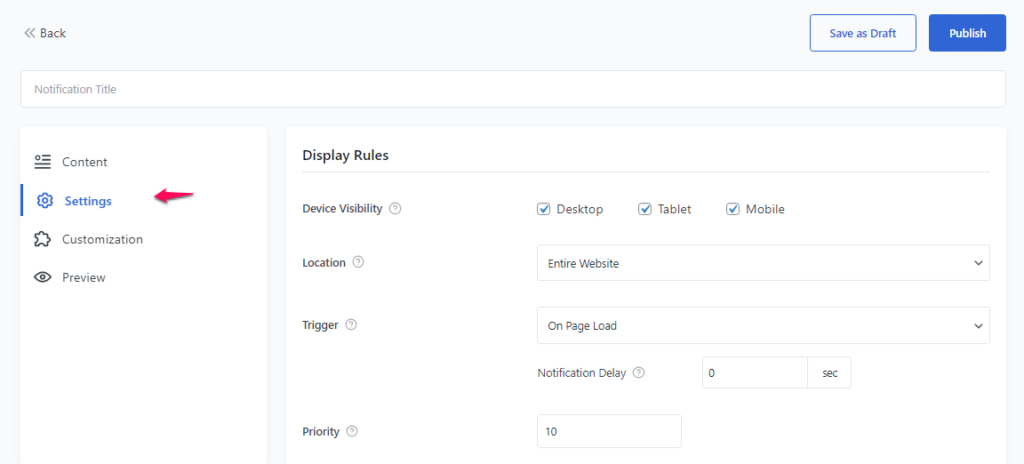
Device Visibility: Tick the checkbox to activate the feature that allows you to display the notification on the preferred device size.
Location: Please specify the location on your website where you’d like the notification to be displayed. You have several options available:
- Entire Website
- Show on Selected.
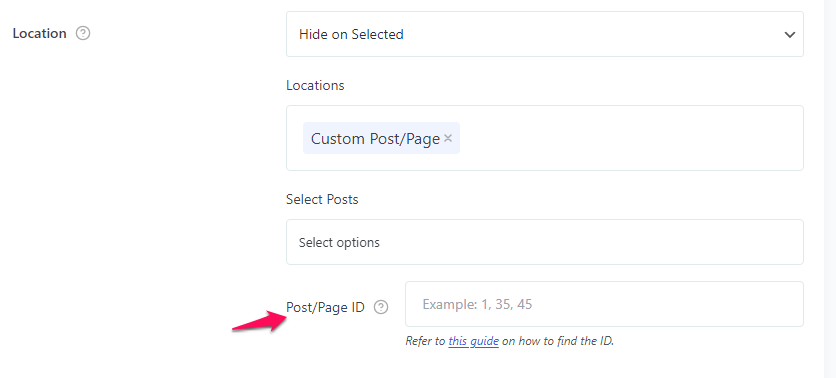
- Hide on Selected.
If you opt for “Hide on Selected” or “Show on Selected,” you’ll have the opportunity to select the different pages or posts you have in mind.
If you select “Custom Page/Post Type,” you can choose specific pages and posts, or you can enter their respective Page/Post IDs. Please add Page/Post IDs separated by commas and without any space between them.
If you’re unsure about how to find the Page/Post ID, you can refer to this instruction.
Trigger: The “On Page Load” feature is available in the free version of the plugin. You can specify the time in seconds when the notification should appear, and it will display after the specified time.
Priority: Enter a priority number to the notification. Only the notification with the highest priority will be displayed.
Customization Settings #

Enable Custom Styling: You have the choice to enable or disable Custom Styling. When you enable the option, you will be able to configure the styling of each notification individually. However, if the toggle is turned off, the notification will use the Global settings.
Container Width: Add container width Size.
Box Border Radius: Choose border radius size for the box.
Title Font Size: Set the font size for the title across all three device sizes.
Description Font Size: Set the font size for the content across all three device sizes.
Button Background Color: You can choose button background color.
Button Text Color: Choose button text color.
Button Border Radius: You can add button border radius as per your requirement.
Image Size: You have the option to display either the default image size or the full image size.
Image Border Radius: Choose image border radius size.
Image Width: You can enter the image width.
Image Height: You can enter the image height.
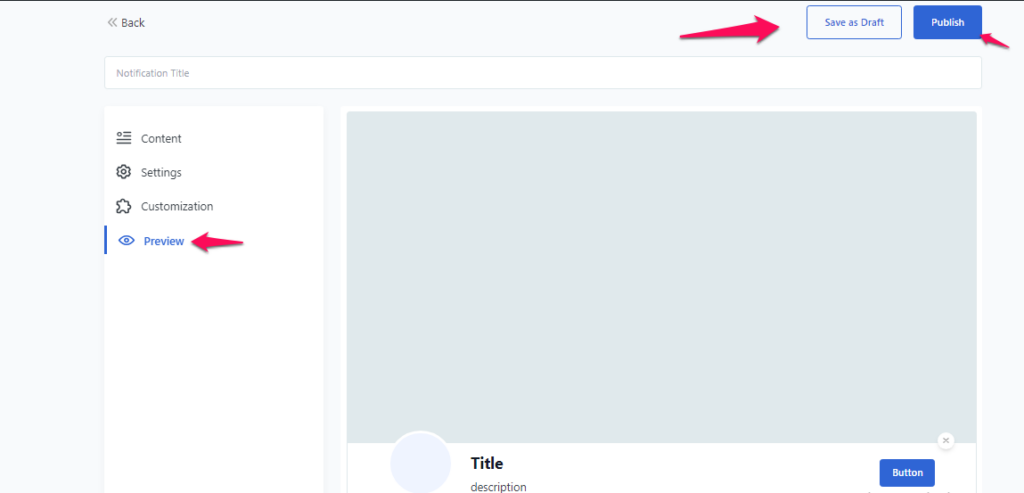
After making modifications, you have the choice to either save the changes as a draft or publish them. You can also preview the changes made to the notification by navigating to Admin Dashboard > Pop and Convert > Add New >Preview.